SoapUI Tutorials
You use the ChangeDeviceServicePlan API to assign a new service plan to a device. This tutorial shows the basic steps involved in changing a service plan, as carried out in SoapUI.
NOTE: This tutorial does not cover setting up and registering a callback listening service for CarrierService responses, which would allow you to see the results of the request.
- Use the Session Service > LogIn API to log in to the ThingSpace Platform.
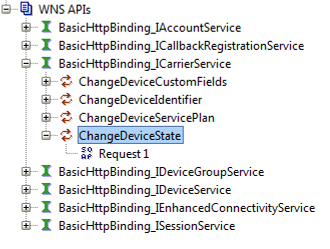
Navigate to Carrier Service > ChangeDeviceState API and open a new request.
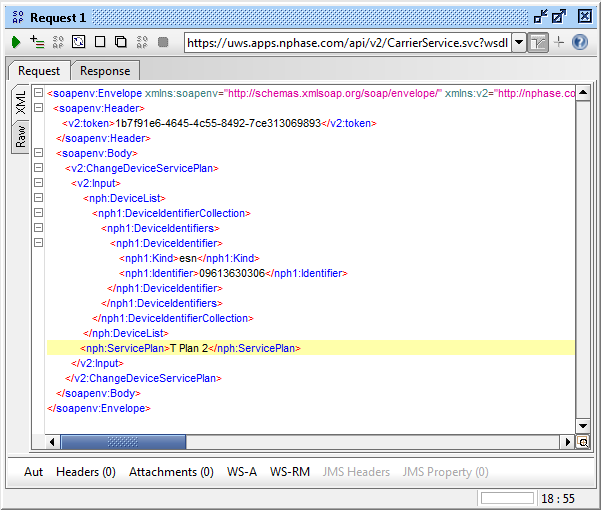
Use the SessionToken value from step 1 to add the correct <token> element to the <soapenv:Header> element:

Identify the device or devices that you want to change, and delete the XML elements for the parameters that you won't use.
- For one or more individual devices, use the <DeviceList> element and specify a Kind and Identifier for each device.
- To make the same change to all devices in a device group, specify the DeviceGroupName.
- To change the service plan for all devices in a billing account, specify the AccountName and delete all of the DeviceList and DeviceGroupName elements.
Put the code for the new service plan in the ServicePlan element.
- Delete the elements for FeatureCodesToAdd, FeatureCodesToRemove and TakeEffect.
Run the request (click the green arrow in SoapUI).

The Response will contain a RequestId if the request was accepted. You can verify that the device was suspended either through your CarrierService callback service, or by issuing a GetDeviceProvisioningHistory request and looking for a Status of "Success" for EventType "Change Service Plan Confirmed" and the name of the new ServicePlan in the response.
