Some requests sent to the Verizon ThingSpace Platform might take some time to process. Instead of blocking your application during that time, the ThingSpace Platform sends back an immediate (synchronous) acknowledgement that it has received and accepted the request, and it will send a complete response as a callback message when it has finished processing the request. In order to receive those responses, you must set up callback listening services on your server, and then register them with the ThingSpace Platform so that it knows where to send the responses.
This tutorial provides step-by-step instructions for deploying a callback listening service through IIS 6.0 on Windows 7, and registering the service with the Verizon ThingSpace Platform.
The steps in this procedure assume that you have:
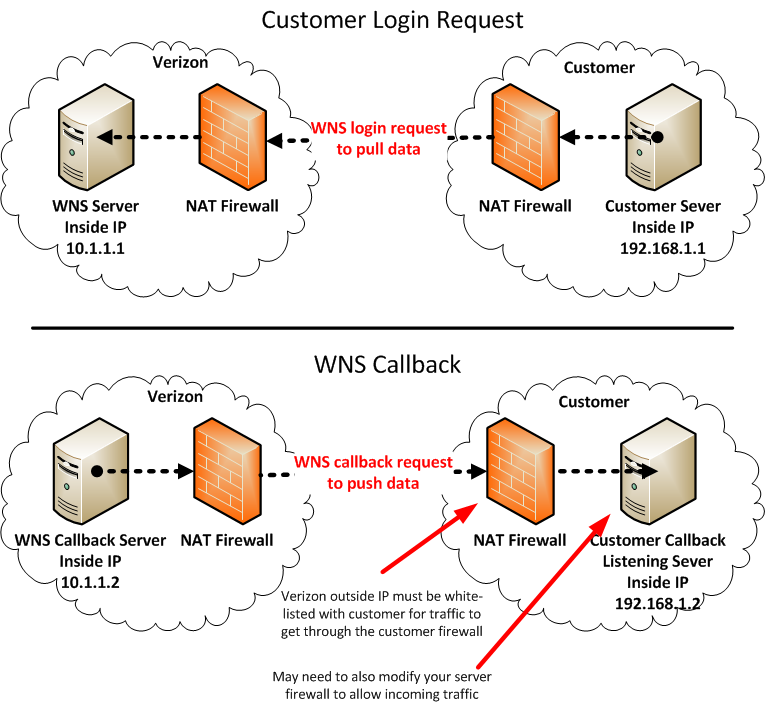
Firewalls are designed to block unwanted traffic coming from the Internet to an inside host. To make use of the callback feature described in this document, you must configure any firewalls between your computer and Verizon's ThingSpace Platform servers to allow the appropriate connections. (This is known as "white-listing.")
You (or someone at your company) should have received the list of IP addresses used by the Verizon M2M servers when your company was approved for API access to the ThingSpace Platform.
In addition to the main corporate firewall at your company, there may be internal firewalls, and your PC may have a firewall. All of these must be set to allow incoming traffic from Verizon for the specific port number on which you choose to set up your callback service.
The "hole" in your PC firewall may compromise the security of your PC. You should reinstate the firewall when it is not required.
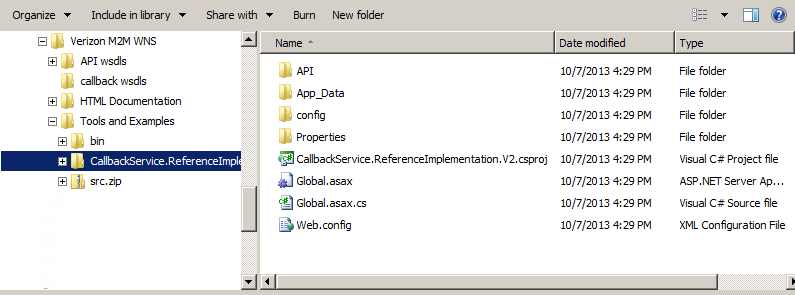
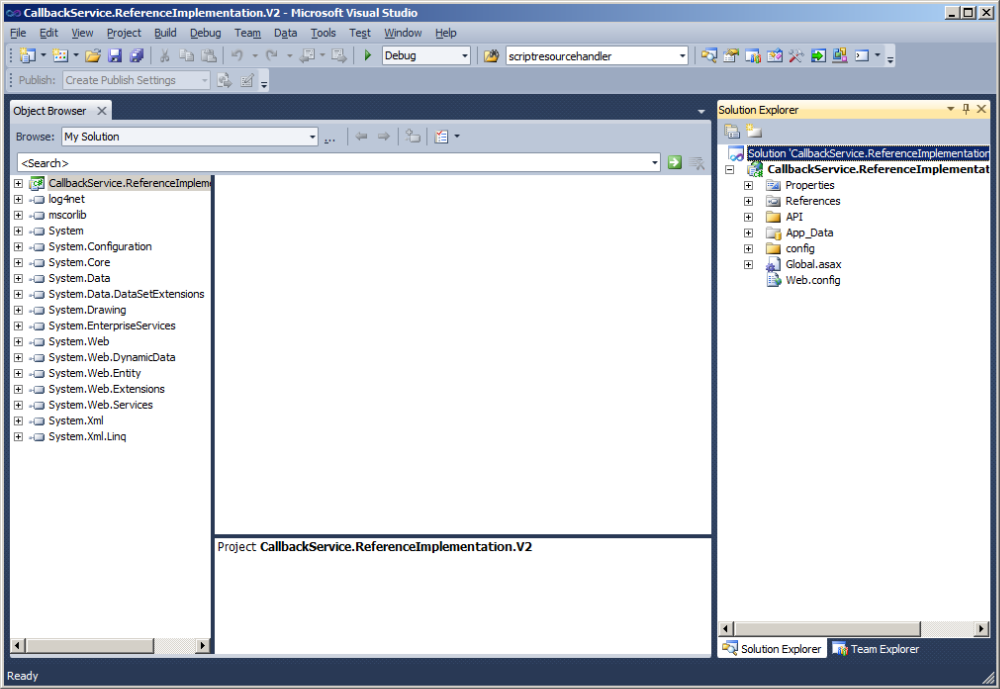
Using Windows File Explorer, browse to the Wireless Network Services SDK Tools and Examples > CallbackService.ReferenceImplementation subdirectory:
Visual Studio should appear as shown:
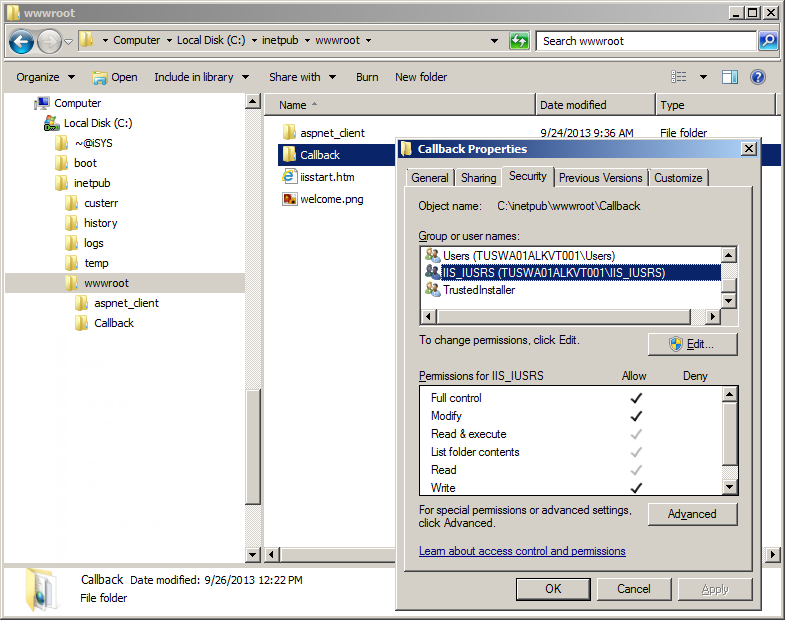
Using Windows Explorer, create a subdirectory under wwwroot named Callback:
C:\inetpub\wwwroot\Callback
In Windows Explorer, right click Properties and give IIS-IUSRS full rights to the callback directory:
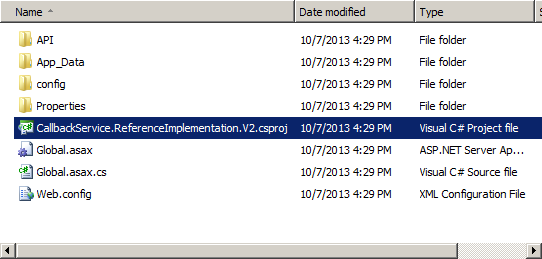
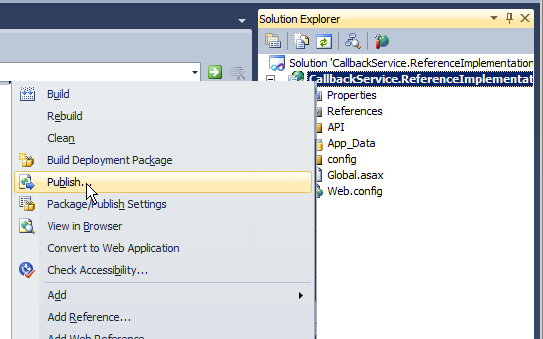
In Visual Studio, right click the highlighted line and select Publish:
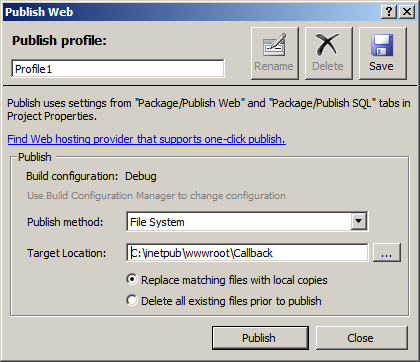
The Target Location is the callback directory that you created:
At the bottom left of the screen, a message indicates the success or failure of the operation:

Register the ASP.net 4.0 client with IIS:
Enter aspnet-regiis.exe –i:

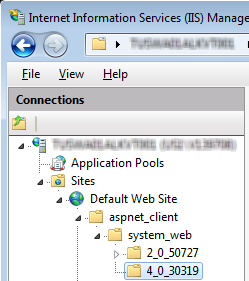
If you register the client correctly, it should appear in IIS Manager %windir%\system32\inetsrv\InetMgr.exe:
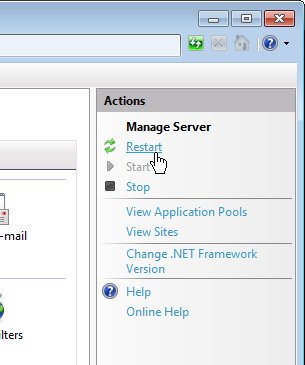
Click Start or Restart in IIS Manager:
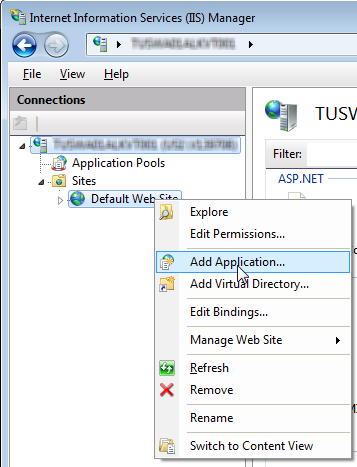
In the IIS Manager, right-click on Default Web Site and select Add Application:
For the physical path, browse to the Callback directory that you created:

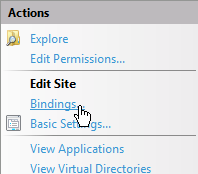
To create the necessary bindings, select Default Web Site, then click Actions > Bindings.
Add a binding for HTTP on port 50559:
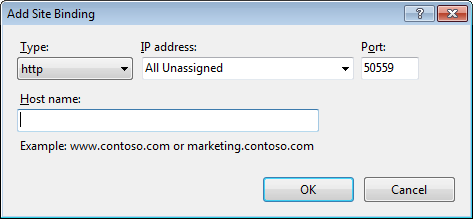
NOTE: Allowed port numbers for new callback registrations are 80, 443, 9001-9006 and 50551-50559.
Use anonymous authentication so that there is no need to register a user name and password in UWS Explorer (later in this procedure).
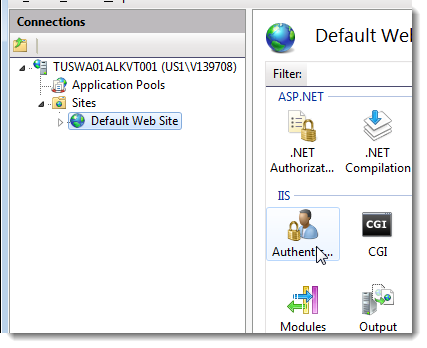
In the IIS Manager, select Default Web Site and then click the Authentication icon under the IIS heading:
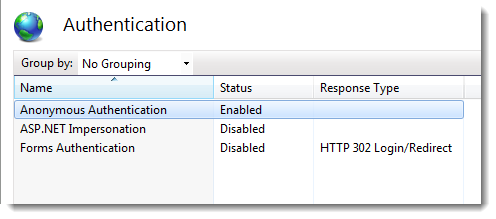
Ensure Anonymous Authentication is enabled, and that all other authentication types are disabled:
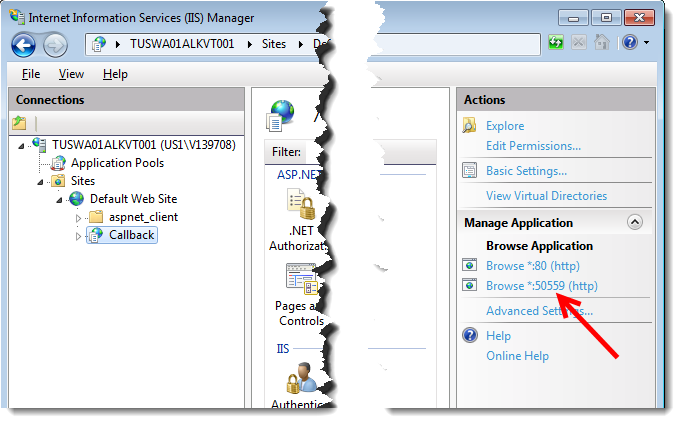
In the IIS Manager, select Callback under Default Web Site. You should see port 50599 listed on the right:
Open a web browser and go to
Browse to:
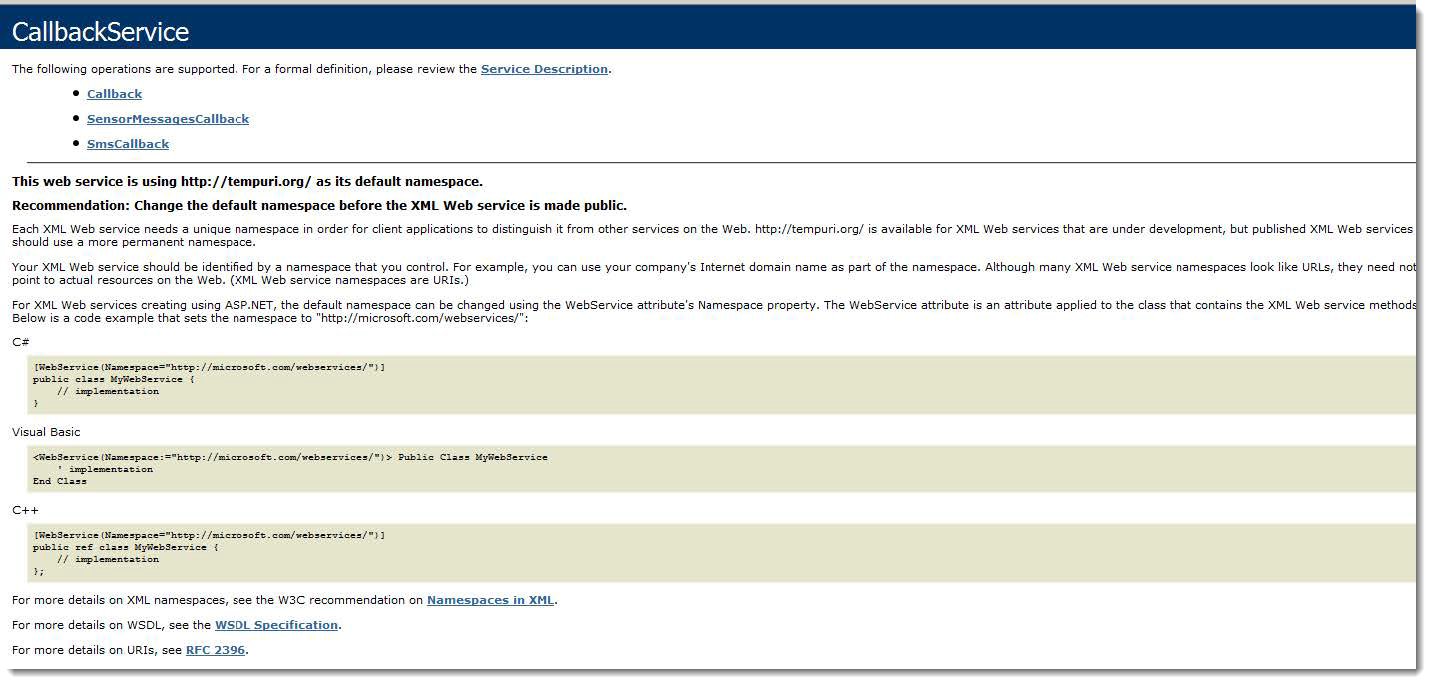
Register your Callback Server:
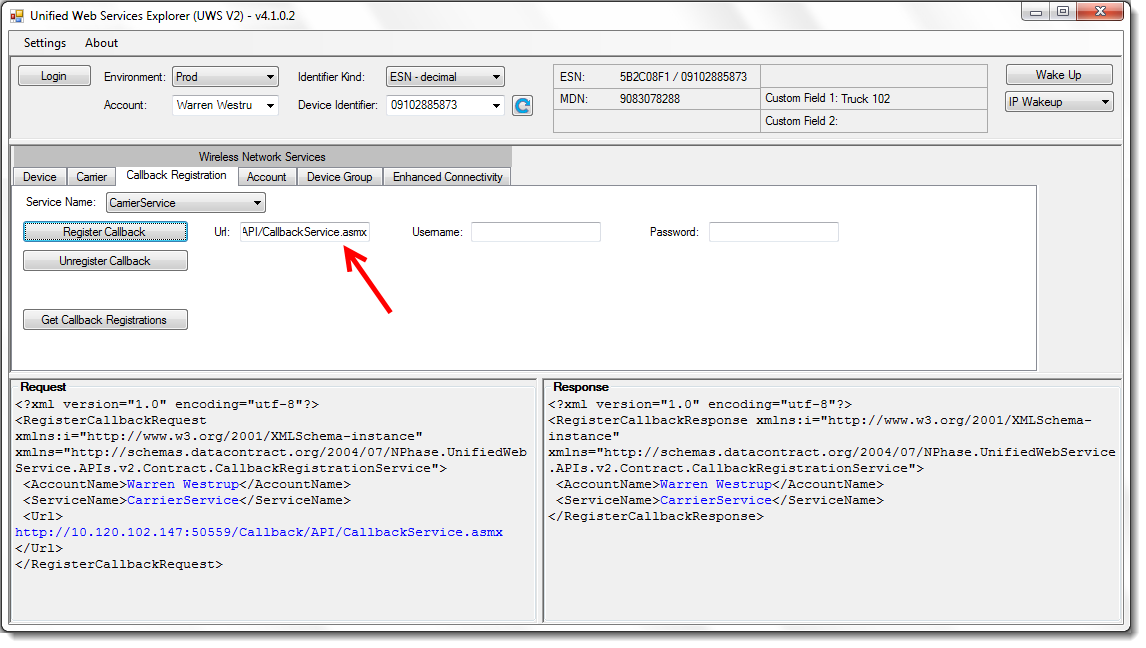
In UWS Explorer:
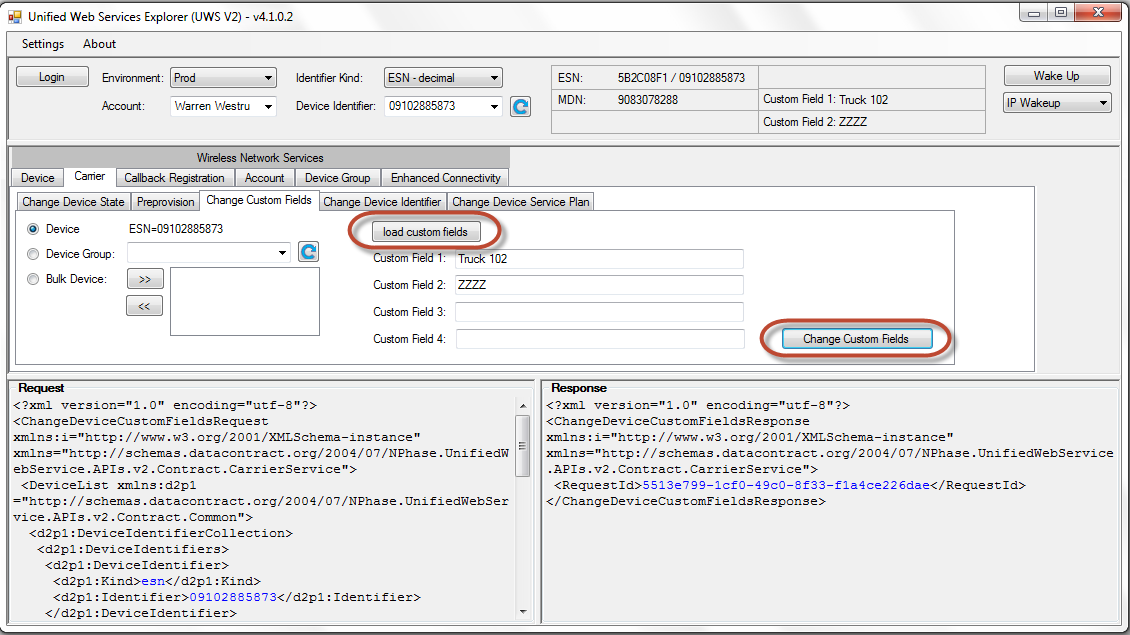
Click Change Custom Fields.
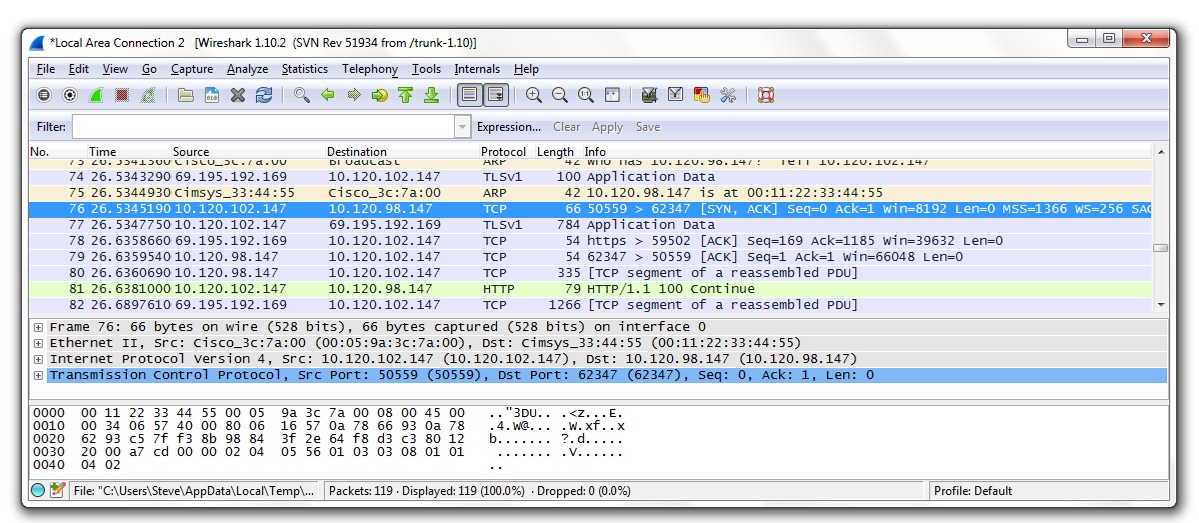
Use Wireshark® to verify that you are receiving traffic destined on port 50559.
If you see SYN but not SYN ACK, then your web server is turned off.